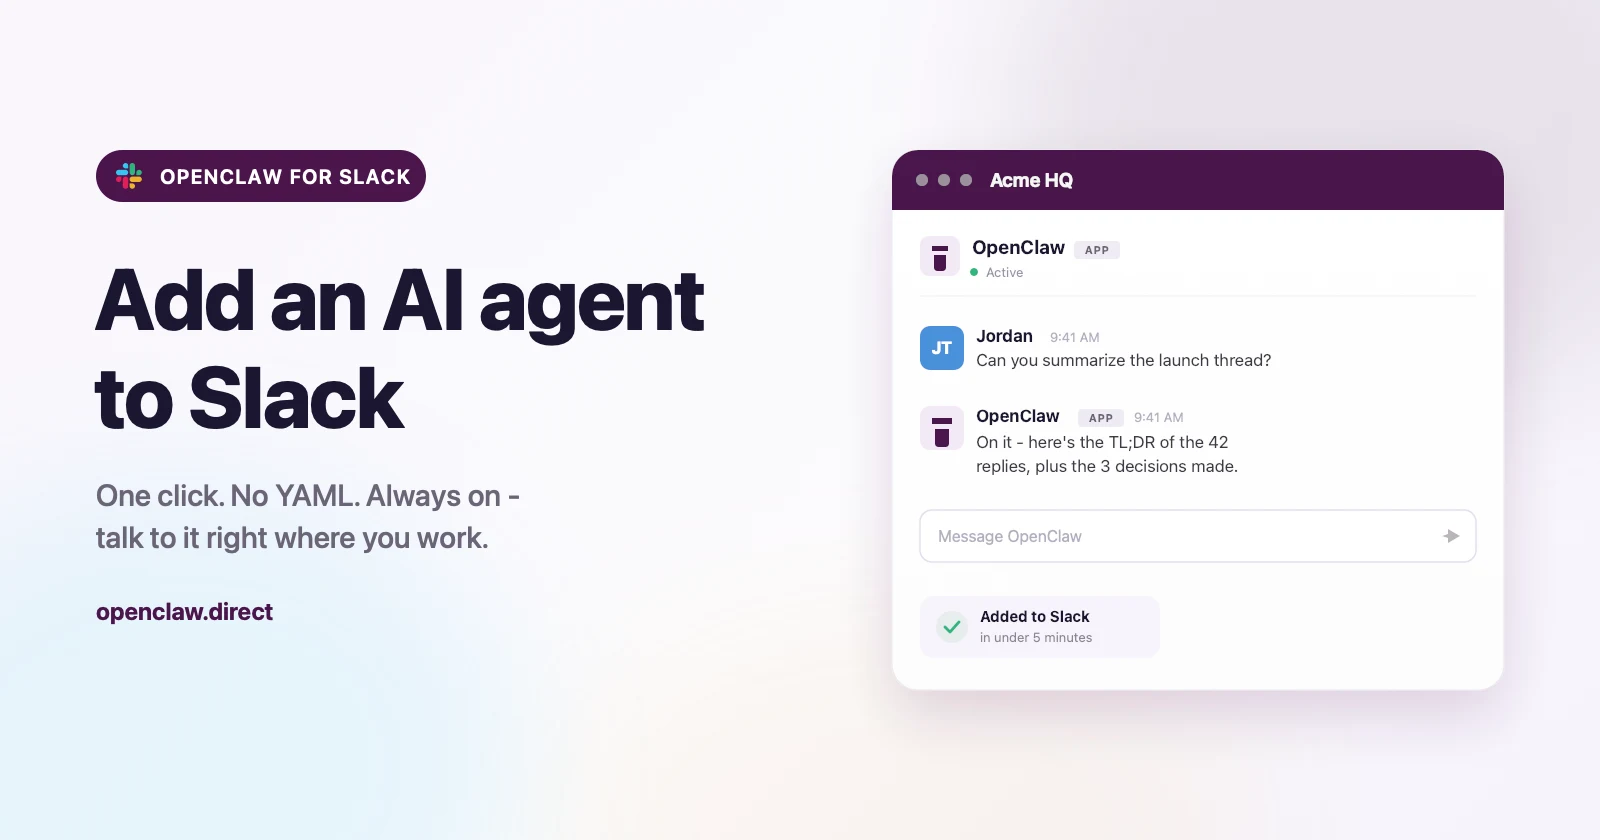
Adding an AI agent to Slack takes about five minutes, and you won’t touch a line of code. Click Add to Slack, authorize the app, connect your OpenClaw instance from the dashboard, then DM the bot — that’s the whole flow. No YAML, no webhooks, no scopes to wire by hand. Here’s each step, plus how the bot behaves in DMs versus channels and what to do if it goes quiet.
TL;DR
To add an AI agent to Slack with OpenClaw Direct: (1) click Add to Slack and authorize the app, (2) connect your workspace to your OpenClaw instance from your dashboard, (3) DM the bot or @mention it in a channel. It runs on an always-on hosted instance, so it answers overnight — and it only sees the DMs and channels you add it to.
What You Need Before You Start
You need one thing before the Slack part: a running OpenClaw instance. That’s the actual AI agent — a private, always-on machine that runs your skills and holds conversations. Slack is just where you talk to it. If you don’t have an instance yet, sign up, pick a plan, and launch one first. It takes a few minutes and there are no servers to manage.
Why an instance first? Because Slack is a channel, not the brain. The agent lives on your hosted instance and keeps running whether your laptop is open or not. Connecting Slack points that always-on agent at your workspace, so it can answer a teammate’s question at 2am without anyone leaving a browser tab open. See pricing and plans if you’re still choosing a tier.
You’ll also need permission to install apps in your Slack workspace. Most workspaces let any member add an app; some require an admin to approve it. If your workspace restricts app installs, ask a Slack admin to run the install or approve your request — it’s the same click path either way.
How Do You Add an AI Agent to Slack? (4 Steps)
Adding the agent is a four-step click path: install, authorize, connect, chat. None of it requires code. Below is exactly what happens at each step and what you’ll see on screen.
Step 1 — Click “Add to Slack”
Start from the button below (or the one on the Slack integration page). Clicking it hands you off to Slack’s own authorization screen — you’re never asked to paste an API token or a signing secret. This is the standard OAuth flow every Slack app uses.
Step 2 — Authorize the App
Slack shows you what the app can do and asks you to pick the workspace you’re installing into. Review the permissions, confirm the right workspace, and click Allow. Slack then creates the bot user in your workspace and hands the connection back to OpenClaw Direct. If your workspace requires admin approval, Slack routes the request to an admin instead of installing right away.
Step 3 — Connect Your Workspace to Your Instance
After authorizing, connect the workspace to your OpenClaw instance from your dashboard. This is the pairing step: it tells the agent which workspace to answer in, and it’s locked one-to-one, so a workspace maps to a single instance. Once paired, every message the bot receives is routed to your instance and answered by your agent — no forwarding rules to configure.
Step 4 — DM the Bot and Start Chatting
Open a direct message with the OpenClaw Direct bot and send it something. You’ll get a reply in the same DM, sent as the bot, powered by your instance. That’s it — you’ve added a working AI agent to Slack. From here you can @mention it in channels or invite it into a channel to work alongside your team.
Good to know: Responses are generated by AI and may occasionally be inaccurate or incomplete. Review important output before you rely on it — especially for anything legal, financial, or safety-related.
DM vs @Mention vs Adding to a Channel
The bot behaves differently depending on how you talk to it, and that difference decides who can see the conversation. A DM is private to you; a channel is shared with everyone in it. Here’s how the three modes compare.
| Mode | How you use it | Who sees it | Session |
|---|---|---|---|
| Direct message | Open a DM with the bot and type | Just you | Private, per-user session |
| @mention in a channel | Type @OpenClaw Direct in a channel it’s in |
Everyone in the channel | Shared, replies in-thread |
| Added to a channel | Invite the bot to a channel as a member | Everyone in the channel | Shared assistant for the group |
Two rules keep this predictable. First, each person’s DM is its own session, so your conversation with the bot stays separate from a colleague’s. Second, in a channel the conversation is shared — useful for a team standup or a support channel, but everyone there can read it. Pick the mode that matches how private the exchange needs to be.
The privacy boundary matters here: the bot only sees messages in DMs with it and in channels it has been added to. It never reads channels it hasn’t joined, and it can’t crawl your workspace history on its own. If you want the agent in a private channel, add it there explicitly — otherwise it has no visibility into it at all.
Troubleshooting: Why Isn’t the Bot Replying?
If you DM the bot and hear nothing back, the usual cause is that no active OpenClaw instance is handling your workspace. The agent lives on your instance; if that instance is paused, suspended, or was never paired, there’s nothing on the other end to answer. Two situations cover almost every case.
“No active paired instance.” If your instance is paired but not currently running, the bot replies with a short nudge and a button to reactivate it. Open your dashboard and make sure the instance is active, then message the bot again. Once the instance is back online, it picks up where you left off.
Workspace never connected. If you installed the app but skipped the connect step, the bot replies with a prompt to set an instance up. Head back to your dashboard, connect the workspace to an instance, and the agent starts answering right away. If you don’t have an instance yet, that’s the step you’re missing — create one first.
A few more quick checks: confirm you’re messaging the right bot (the one named OpenClaw Direct), that you actually @mentioned it in a channel rather than just typing near it, and that the app wasn’t removed by an admin. If everything looks right and it’s still silent, your instance is the place to look, not Slack.
How Do You Remove or Uninstall the Agent?
Removing the agent takes a few clicks and is fully reversible. In Slack, open your workspace settings, go to Manage apps, find OpenClaw Direct, and choose Remove. That revokes the workspace token and stops all event delivery immediately — the bot won’t receive or answer another message.
Uninstalling from Slack doesn’t delete your OpenClaw instance; the agent keeps running and stays reachable through your other channels. If you later change your mind, click Add to Slack again to re-install and reconnect. Your instance and its skills are untouched by removing the Slack connection.
Frequently Asked Questions
How do I add an AI agent to Slack?
Click Add to Slack, authorize the app for your workspace, connect the workspace to your OpenClaw instance from your dashboard, then DM the bot. The whole flow takes a few minutes and needs no code, YAML, or manual token setup. You do need a running OpenClaw instance first — that’s the agent Slack talks to.
Do I need to write any code or YAML?
No. OpenClaw Direct is a one-click install. You authorize through Slack’s standard OAuth screen and connect your instance from the dashboard — no webhooks, scopes, or config files to wire by hand. The hosting, updates, and infrastructure are fully managed, which is the difference between using an agent and operating one.
Why isn’t the Slack bot replying?
The most common reason is that no active OpenClaw instance is connected to your workspace. If your instance is paused or was never paired, the bot replies with a prompt to reactivate or set one up. Check that your instance is running and connected in your dashboard, then message the bot again.
Can the agent read all my Slack messages?
No. The bot only sees direct messages sent to it and messages in channels where it has been added or @mentioned. It never reads channels it hasn’t joined and can’t browse your workspace history on its own. If you want it in a private channel, you have to add it there explicitly.
Does OpenClaw train AI on my Slack messages?
No. We do not use your Slack content to train AI models. Your workspace bot token is encrypted at rest, and inbound message logs are minimized and deleted after 30 days. For the full data-handling details, see our security page.
Can I drive the agent from tools other than Slack?
Yes. The same instance can connect to other channels and to AI clients like Claude, Cursor, or ChatGPT over the open Model Context Protocol. If you’d rather drive OpenClaw from your editor or a desktop AI app, see the MCP guide. Slack is one way in, not the only one.
Add Your AI Agent to Slack
That’s the entire path: install, authorize, connect, chat. No YAML, no servers, no keeping a laptop awake — your agent runs on an always-on hosted instance and answers in the DMs and channels where work already happens. If you have an instance, add it to Slack now. If you don’t, sign up and launch one first, then come back and connect it.